As a longtime user of a self-hosted Roundcube installation, I was unhappy with the fact that one of my favorite plugins no longer worked with recent versions of Roundcube (1.7.x) and PHP 8.4.x. To make matters worse, the client-side filters plugin I used, seems to be abandonned by the original authors.
This is the old plugin: https://github.com/roundcubevnz/roundcube-plugin-filters
So, I took it upon me to update the plugin to make ik compatible again with the latest versions of RoundCube (1.7.x) and PHP 8.4.x. Tbh, I am not much of a PHP-coder, so I relied heavily on the use of Google Gemini to do the heavy lifting for me. It took me several sessions and many hours, providing feedback and pushing Gemini to produce the new code until it finally did what I wanted, without errors.
The plugin adds a tab to the Roundcube Settings, allowing you to create filters. The filters can also be edited again, saved or saved as (create copy), and deleted.
If you want to use it, download the zipfile, unzip it in your Roundcube plugins folder, and enable it in the config. You may also need to create the DB-table called filters. You can use the sql file in the zipfile. You most likely also need to change the DB name (USE dbname; ) in the sql file before you run this.
It works fine for me, but as always, YMMV.
Everybody likes screenshots, so this is what it looks like when editing an existing rule (click image for large view):
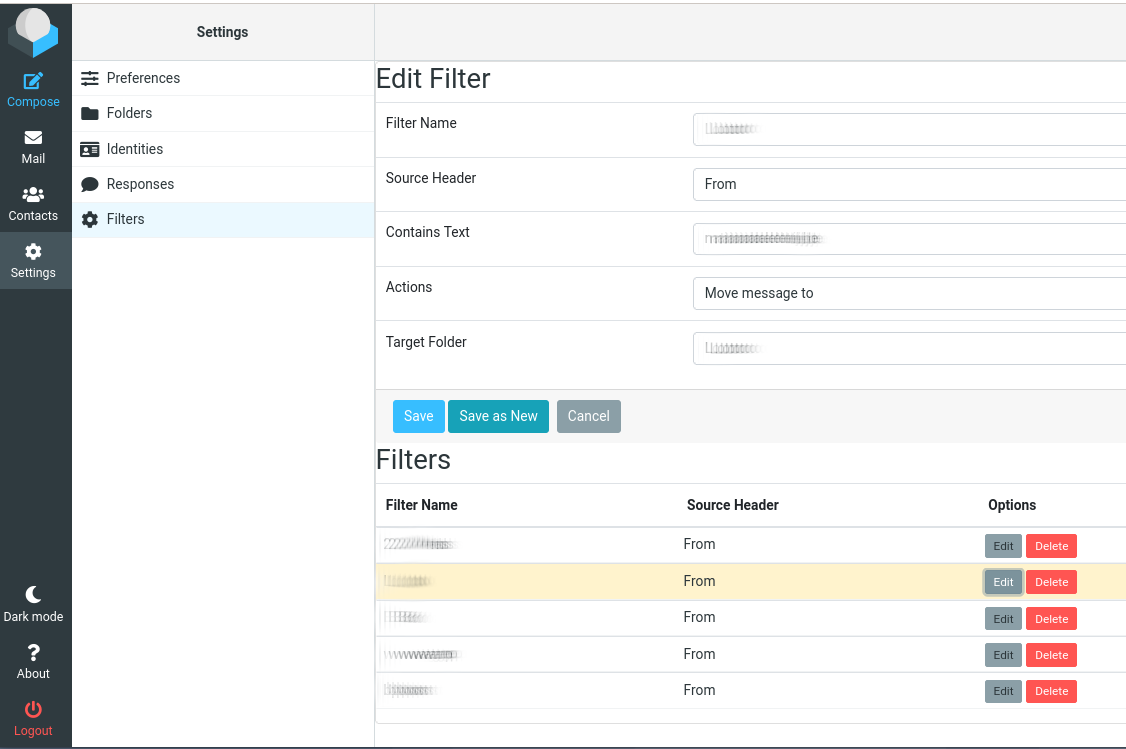
Filters plugin 2.5
DISCLAIMER: This code is provided ‘as is’ without warranty of any kind. Use at your own risk. The author assumes no responsibility for any damages or data loss.
Downloads:
Enjoy 🙂